
How to Shoot in Harsh Midday Light
As photographers, we're always checking the weather. When's it going to rain? What temperature is it outside? And most importantly, what time's golden hour? We imagine our future selves waking up early for sunrise and traveling to beautiful locations to shoot sunset.

When in reality, we hit snooze on our alarms, and we call it a day way before sunset even hits. So all we're left with is harsh, difficult mid-day light. But there are ways to use these tricky lighting conditions to our advantage to create great photos. I'm going to show you how, but first, I want to demonstrate why this is important.

If you've ever shot in a studio setting, you know how convenient it is to have controllable lighting that you can change to your exact preferred lighting style whenever you want. But as street photographers, we don't often carry around controllable lighting with us unless you're doing the old flash and dash. The best option that we have available to us is only going out to shoot when the lighting suits our style. That could be going out with golden hour for that lovely warm glow, or going out on an overcast cloudy day for that nice balanced lighting.
However, if we only shoot in the conditions that we find easiest, how are we going to improve as photographers? Part of growing as a photographer is learning to shoot and adapt in different lighting conditions, even in the middle of the day when the light is harsh and it casts ugly shadows on everything in front of your lens. So by the end of this video, you'll learn everything you need to know to make harsh midday lighting your new best friend for photography.
Using Shadows in Harsh Light
There's a saying where I come from: many shadows equal many problems. When harsh light hits a subject, it casts a hard shadow on the opposite side, creating a stark contrast between the brightest highlights and the darkest shadows. This means if we have many subjects in one frame, we will have many unpleasant shadows in our frame. This can leave your composition looking muddy and contrasty, making it difficult to understand details in the frame.

To avoid this problem, there are two things we should aim to be doing. The first is to choose fewer spaced-out subjects in our frames, or better yet, focus on solo subjects. This means we're only dealing with one subject and the shadows cast by them. The second is to position ourselves on the opposite side of our subject to the light. Even in midday light, there is a front-lit side of your subject and a backlit side. By placing ourselves on the opposite side of our subject, the harsh light will be backlighting our subject, creating definition and a pleasant contrast around the subject, separating them from the environment.
Focus on Pockets of Light
If you find yourself shooting down narrow streets, you need to look out for pockets of light. Between narrow streets like these, we have some shelter from the harsh mid-day light. Rather than having light flooding everywhere, instead, we have these little pockets of light that we can use to our advantage. These pockets of light can be used to create these nice high contrast images that are very difficult to create in other lighting conditions. This is one of the unique advantages of shooting in harsh lighting.

In these situations, instead of trying to expose for your entire image for both your shadows and your highlights, it can actually be better to try and underexpose your image, prioritising the highlights. You can even use your highlight priority metering on your camera if you have it. By exposing for your highlights, you allow your shadows to slightly fall off, creating these more interesting abstract images in these high contrast pockets of light. This can be a very fun way to shoot when you're down these narrow streets on harsh light days, especially when there are different objects breaking up the light, much like a fence or a doorway. You can create nice interesting shape across your subjects where lighting might usually feel a little bit difficult.
When it comes to editing these images, rather than trying to create flat profile images, if that is your usual style, instead lean into that contrast just a little bit. Rather than raising your shadows in these situations, just drop your shadows out a little bit further and then play with different colour luminance and your highlights to create these nice, pleasing high contrast images. Even if it's not your usual style, this can be a really fun way to shoot in harsh light conditions.
Shooting in Wide Open Areas
When we step out from these narrow streets, both the sun and the heat can be a bit overwhelming. In these wide open areas, subjects can appear washed out and flat, as the harsh light will make bold colours appear more saturated, but many of the softer colours can actually appear a little bit faded in your final images. It might feel a little bit counterintuitive, but much like an overcast cloudy day, you should actually lean into a flatter editing style in these situations, rather than going for that high contrast look that we were just practicing with pockets of light.

Instead of juggling the harsh highlights and shadows with subjects closer to your lens, with these wider scenes, we can use this low contrast lighting to our advantage. In these situations, when our subjects are further away and our shadows are relatively smaller, I actually like to bring down my contrast, bring down my clarity, and even my dehaze just a little bit. And then I also like to play with my luminance sliders to increase the luminance of the blues in my image, and then actually bring down the luminance of the warmer tones in my image to try and create a nice washed out sky, but also include some colour contrast.
Finding Opportunity in Every Scene
No single location serves up only one quality of light. In one part of a square, you might have super washed out harsh lighting, while in another part, you might have these nice little pockets of light broken up by different objects. So you need to keep an eye out for these shady spots, or objects creating these large shady areas in a wide open scene.

When shooting at longer focal lengths, maybe 50mm or 70mm, we can use subjects in the shady spots as foreground or mid-ground layers against the low contrast washed out background. We can also look for openings like this at the end of narrow streets, creating dark negative space to frame the brightly lit subjects in the background.
While harsh mid-day light can be tricky to work with, as long as you pay attention to the direction of the light and the space you have available in the scene, you can still use this light to your advantage to create these nice, interesting images.
Help support this ad-free blog by checking out my store.
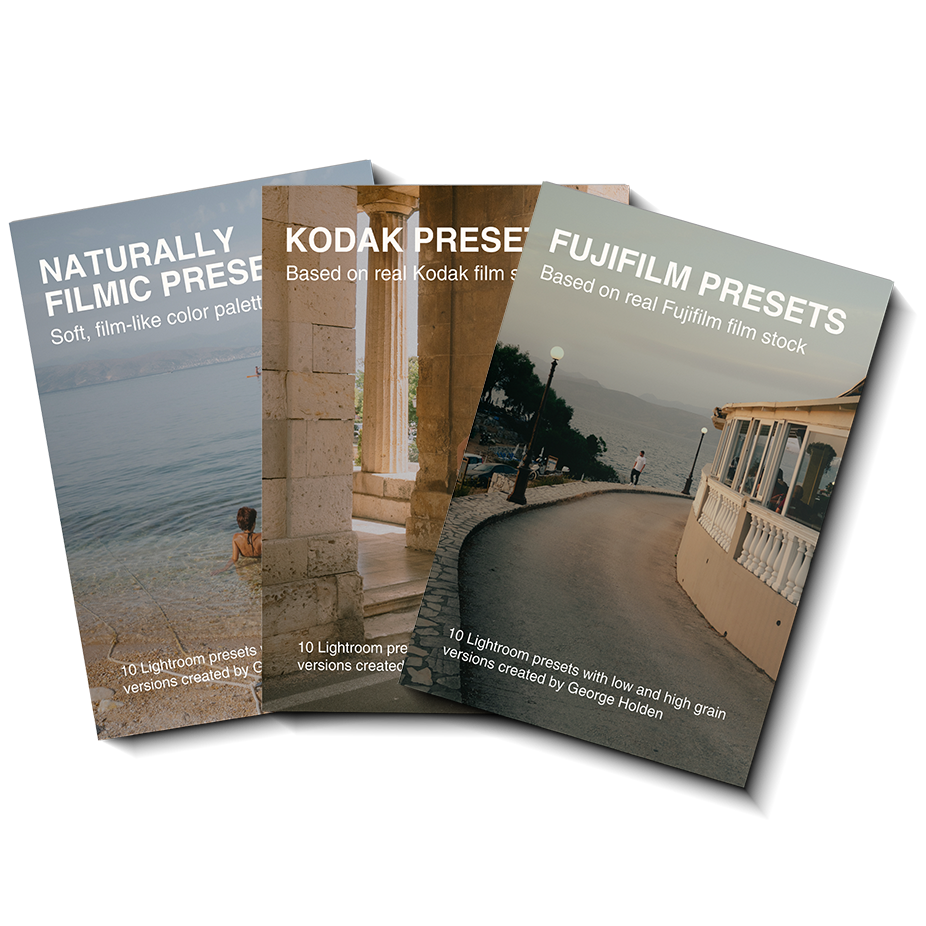
What style can I expect from these presets?
These presets are based on specific Kodak Film Stocks, Fujifilm Film Stocks and various film stocks I have shot in various lighting conditions which you can see in the preview images for each pack.
How many presets are in this pack?
30 - with low and high grain versions for each preset.
Each preset has both .xmp and .dng file types.
Which software supports these presets?
You can choose from these Adobe softwares:
Lightroom Classic
Lightroom CC Desktop
Lightroom CC Mobile
Photoshop (adobe camera raw)